

Organic Cabbage: Start Seeds Indoors and Transplant Success
- Al InSoil
- Mar 18
- 5 min read
Cabbage is a cool-season classic easy to start indoors if you nail timing, light, and a gentle transition outdoors.
Scientific name: Brassica oleracea var. capitata
Quick history + fun fact: Cabbage is a domesticated form of wild cabbage (Brassica oleracea), long selected around the Mediterranean and Europe for tight heads and cold tolerance. Fun fact: the “head” is basically a compact rosette of leaves, cabbage is a masterclass in leaf engineering.

Why cabbage is worth starting indoors
Cabbage thrives in cool weather, which makes it ideal for early spring and fall gardens. Starting indoors gives you a jump on the season (especially in short-summer regions) and helps you transplant strong, pest-ready plants instead of gambling on direct-seeded seedlings in unpredictable spring conditions.
And yes, this is the perfect place to say the quiet part out loud: organic cabbage success is mostly about steady growth. Any stall (cold shock, dry roots, nutrient bottlenecks) can mean smaller heads or “buttoning” (tiny heads that form too early).
When to start cabbage seeds indoors (by season + region)
Spring crop timing
A reliable rule: start seeds 6-8 weeks before your last expected spring frost, then transplant outdoors 2-4 weeks before that date (cabbage can handle light frost once hardened off).
Common U.S. region notes
Northeast / Upper Midwest / Mountain West: Indoor starting is often the easiest path to a spring crop; transplant into cool soil with protection if nights dip hard.
Pacific Northwest / coastal Northern California: Long, cool springs are cabbage-friendly, transplants do beautifully and can be planted in waves.
Mid-Atlantic: Great spring cabbage window, but pests can ramp up as temperatures rise, earlier transplanting helps.
Southeast / Gulf Coast: Spring heats up fast; many growers prefer fall/winter cabbage (start indoors in late summer).
Fall crop timing (often the best cabbage)
Start seeds 10-12 weeks before your first fall frost, then transplant 6-8 weeks before frost so plants size up before nights turn cold. In hot climates, fall cabbage is the headline act: transplant as summer breaks, and harvest through late fall or winter depending on your zone.
Seasonality snapshot
Cool/temperate regions: spring + fall are both possible; fall often has fewer problems with bolting.
Warm regions: fall/winter is typically the prime season; spring can be short and pest-heavy.
How to start cabbage seeds indoors (step-by-step)
1) Choose trays + a seed-starting mix that drains
Use cell trays (50-72 cell is common) or small pots.
Use a light, sterile seed-starting mix (not heavy garden soil). You want moisture retention and airflow, cabbage hates soggy roots.
Pro tip: Pre-moisten your mix so it’s evenly damp (like a wrung-out sponge). Dry pockets cause uneven germination.
2) Sowing depth + temperature
Sow ¼ inch deep
Ideal germination temperature: ~65-75°F
Most cabbage germinates in 4-10 days (variety and temperature matter)
3) Light: the #1 reason seedlings get leggy
Once seedlings emerge, give them bright light immediately:
Grow lights: keep them 2-4 inches above seedlings, 14-16 hours/day
A sunny window alone often isn’t enough for stocky brassicas
If seedlings stretch: increase light intensity, reduce heat slightly, and add gentle airflow.
4) Watering: steady, not soggy
Bottom-water when possible. Let the surface dry slightly between waterings, but never let seedlings wilt, brassicas prefer consistent moisture.
5) Thin early for strong plants
If you sowed multiple seeds per cell, snip extras at soil level and keep the strongest seedling. Don’t pull, pulling can disturb roots.
Potting up: when and why it helps
If your transplants will be indoors longer than expected (weather delays happen), pot up from small cells into 3-4" pots when seedlings have 2-3 true leaves. This prevents root binding and keeps growth steady, steady growth is how you get respectable heads.
Feeding seedlings (organic-friendly, no drama)
Seed-starting mixes are low in nutrients by design. Once seedlings have true leaves, begin a gentle feeding program:
Use a diluted organic liquid fertilizer (fish hydrolysate, seaweed, or a balanced organic seedling feed)
Feed lightly every 7-10 days rather than blasting them once
Goal: dark green, sturdy growth, without pushing soft, lush tissue that attracts pests.
Hardening off cabbage seedlings (don’t skip this)
Hardening off is the transition period that prevents transplant shock.
7-day hardening plan
Day 1-2: 1-2 hours outdoors in shade, protected from wind
Day 3-4: extend time, introduce morning sun
Day 5-7: longer exposure + cooler nights (if conditions are safe)
Keep watering consistent during hardening, dry roots plus wind is a fast track to stress.
How to transplant cabbage seedlings (spacing, depth, and shock-proofing)
Best transplant stage
Transplant when seedlings have:
4-6 true leaves
A sturdy stem (not stretched)
A filled-out root ball that holds together (not tightly circling)
Spacing (variety-dependent)
Small/early cabbage: 12-15" between plants
Standard heads: 15-18"
Large storage types: 18-24"Rows: typically 24-36" depending on cultivation style.
Planting depth
Plant at the same depth as the cell plug or slightly deeper up to the first true leaves if stems are a bit leggy (don’t bury the growing point).
Watering-in: your best “transplant insurance”
Water the hole, plant, firm gently, then water again to settle soil around roots.
Mulch (straw or chopped leaves) helps keep soil temperature and moisture stable, two big factors in preventing stalls.
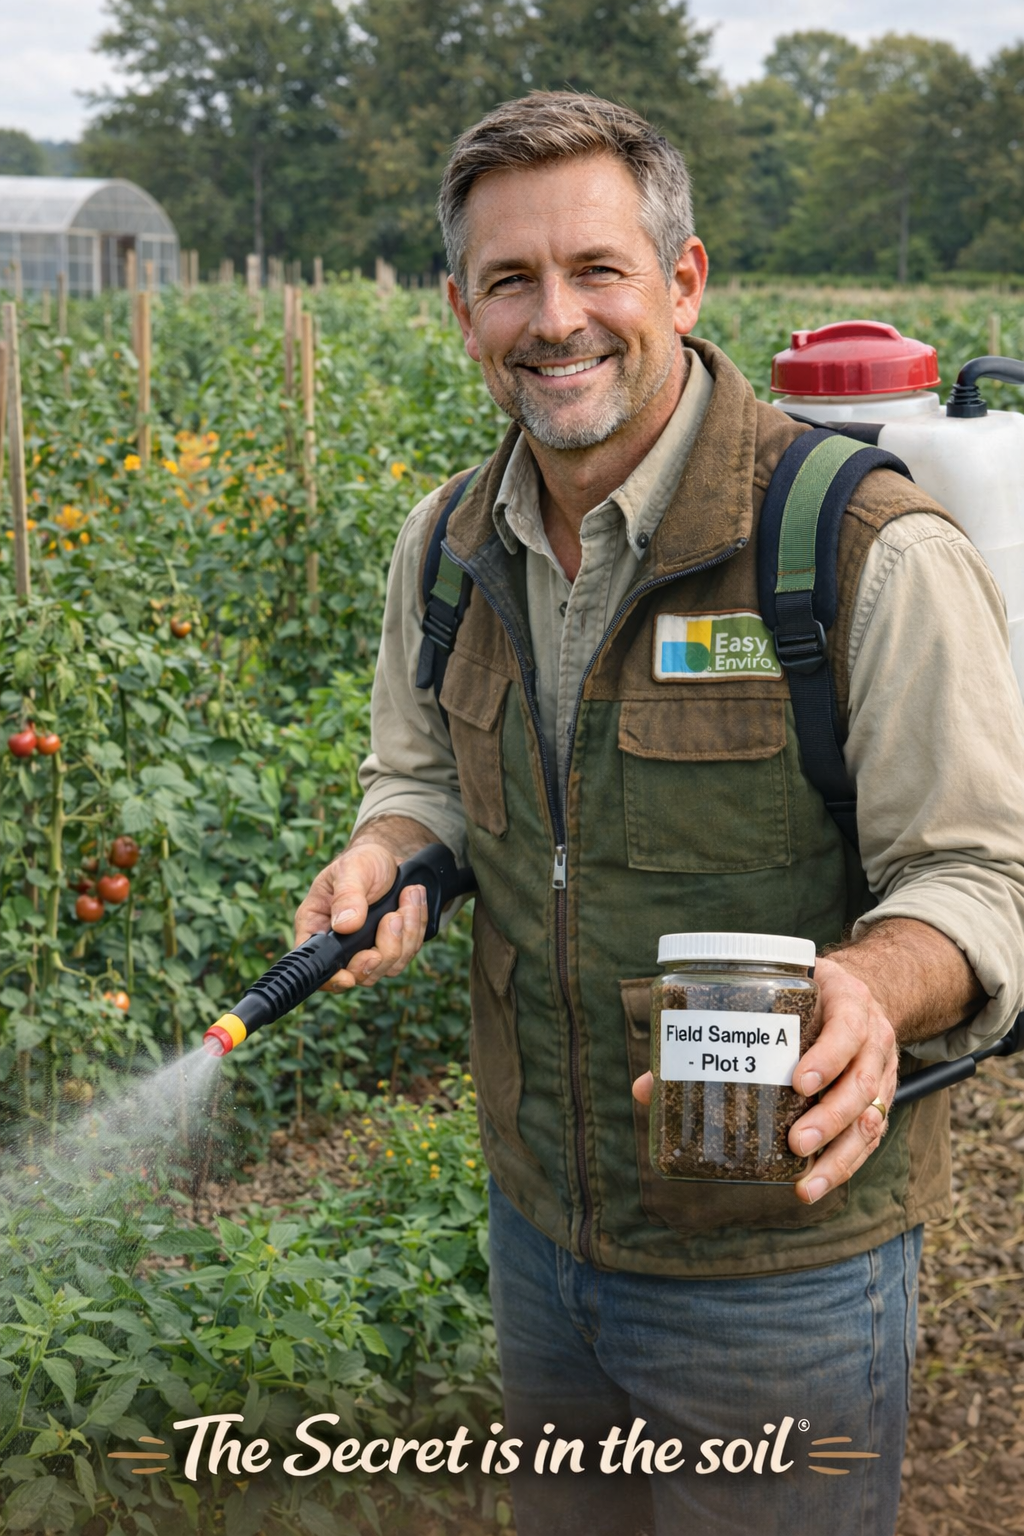
Soil biology tip: reducing transplant shock with beneficial microbes
Cabbage is a heavy feeder, but it’s also a plant that responds to a healthy rhizosphere (the root-zone microbial neighborhood). If you’re building an organic system, consider introducing beneficial microbes around transplant time to help nutrient availability and root establishment.
One option some growers use is Terreplenish®, a living microbial soil amendment containing nitrogen-fixing and phosphate-solubilizing bacteria (including Azotobacter vinelandii and Bacillus subtilis). It’s positioned for soil health, nutrient availability, and water-handling support, and is OMRI-listed for organic use.
Practical, low-fuss way to use it for transplants (garden scale):
Apply as a diluted soil drench into the root zone around transplanting (or shortly before), aiming for good distribution in moist soil.
Follow label guidance for dilution, a minimum dilution of 1:25 (Terreplenish:water) is noted as a baseline safety guideline for living plants.
Mix only what you’ll use, once mixed with water, apply within about 6 hours and don’t store the diluted solution.
Don’t tank-mix with insecticides, fungicides, nematicides, or oils/soaps/salts (those can harm living microbes).
(As always: observe in your conditions, soil type, compost program, irrigation, and weather decide how any biological performs.)
Common problems (and quick fixes)
“My seedlings are tall and floppy.”
Increase light intensity and bring lights closer
Add gentle airflow (fan)
Pot up and plant slightly deeper at transplant
“Leaves turned purple.”
Often a cool-soil stress signal or phosphorus availability issue. Warm the root zone (row cover, mulch) and keep moisture steady.
“Transplants stall after planting.”
Usually transplant shock: wind + dry roots + temperature swings. Water in well, use row cover for a week, and avoid over-fertilizing.
“Cabbage worms showed up immediately.”
Use row cover early, inspect weekly, and hand-pick. Organic options like Bt can be effective when timed correctly (apply based on scouting, not habit).
Summary
Starting cabbage indoors is straightforward: time it for cool weather, give seedlings intense light, harden off gradually, and transplant into consistently moist, fertile soil. The big win is avoiding growth stalls, steady growth produces steady heads.


Comments